Device preparation
Using Raspberry Pi
A combination of a Raspberry Pi with the Raspberry Pi OS in the GUI environment and a touch monitor is required.
Uploading from TOMATE requires an environment that allows SSH connection via LAN (wired or Wi-Fi).
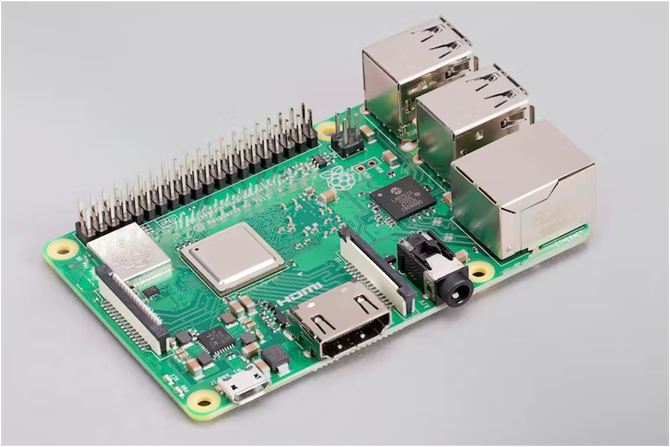
![]() We recommend using Raspberry Pi 2 or higher.
We recommend using Raspberry Pi 2 or higher.
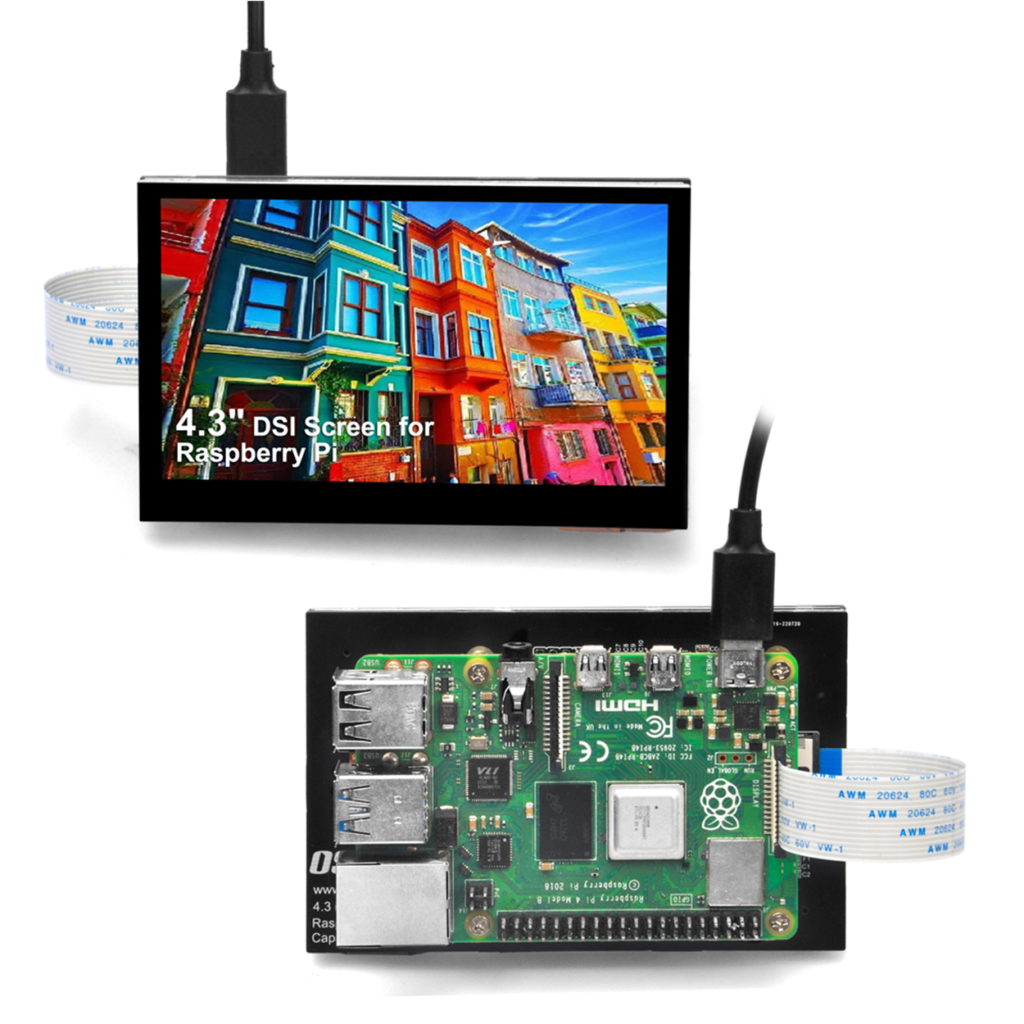
Also, DSI connection is recommended for Raspberry Pi touch monitor.
A DSI-connected touch monitor can adjust the brightness of the backlight from the OS standard device driver.
TOMATE uses this device driver to adjust the brightness.
If you don’t use these functions, a touch monitor with HDMI connection is fine.
![]() Please use the standard “Raspberry Pi OS” (GUI) for the OS used on the Raspberry Pi.
Please use the standard “Raspberry Pi OS” (GUI) for the OS used on the Raspberry Pi.
The program running on Raspberry Pi uses the “pygame” library in the “python3” environment. Both environments are included in the standard the “GUI” Raspberry Pi OS.
Using Windows-PC
Windows PC with touch panel or normal PC + mouse operation works.
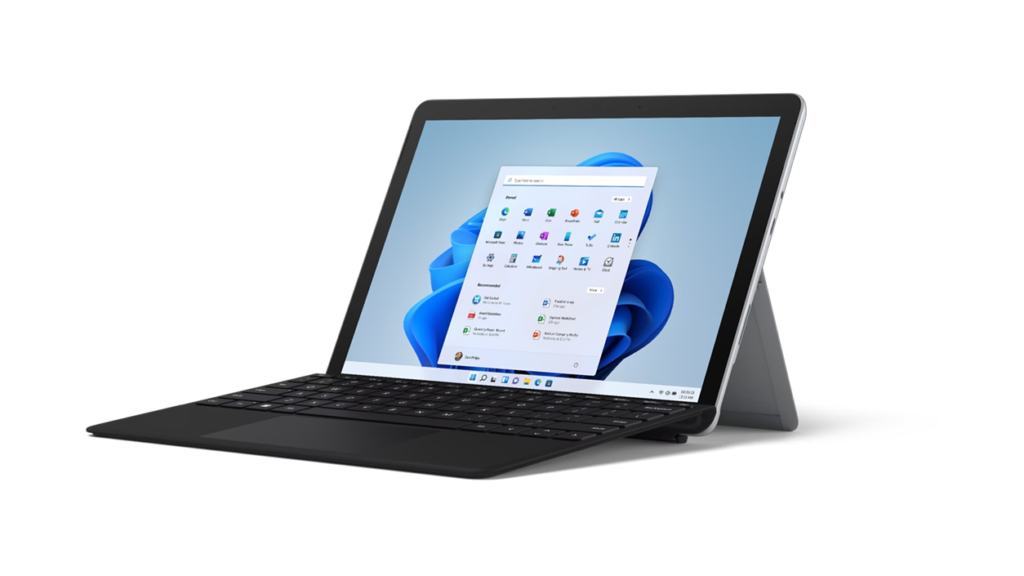
![]() The screen startup adjustment and sleep functions cannot be used in the Windows environment.
The screen startup adjustment and sleep functions cannot be used in the Windows environment.
Raspberry Pi Setup
The Raspberry Pi is started by installing the operating system onto a microSD card. For setup, you will need a microSD card and an SD card reader, and you will install the Raspberry Pi operating system on your PC.
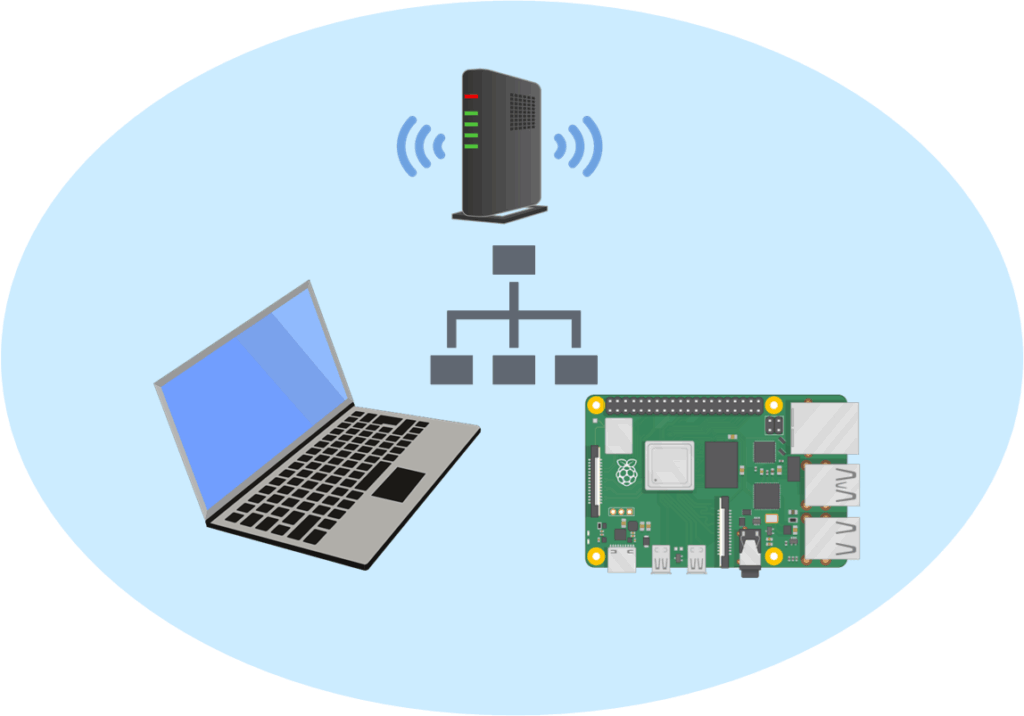
With TOMATE, data is uploaded from your PC to the Raspberry Pi via a LAN connection. Make sure that the Raspberry Pi you are setting up is connected to the same local network (LAN) as the PC running TOMATE.
Install the standard GUI environment Raspberry Pi OS on the Raspberry Pi.
Download, install and run the Raspberry Pi Imager app from the URL: https://www.raspberrypi.com/software/
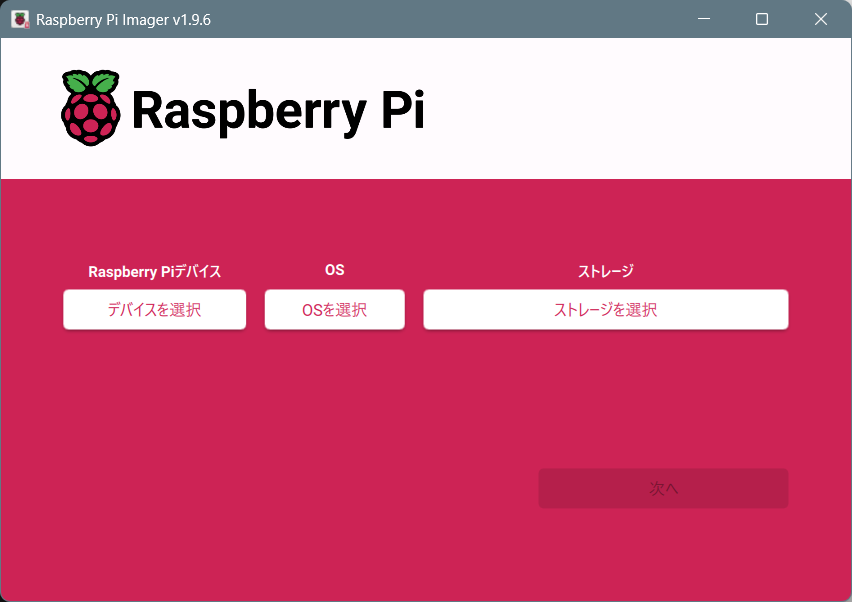
This is the screen showing the “Raspberry Pi Imager v1.9.6” application running.
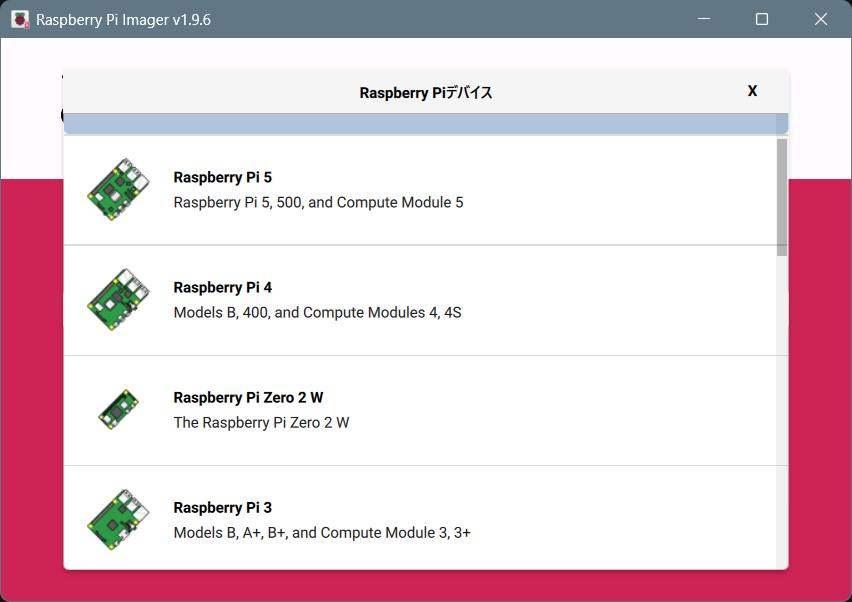
Click the “Raspberry Pi Device” button and choose the Raspberry Pi model you will be using.
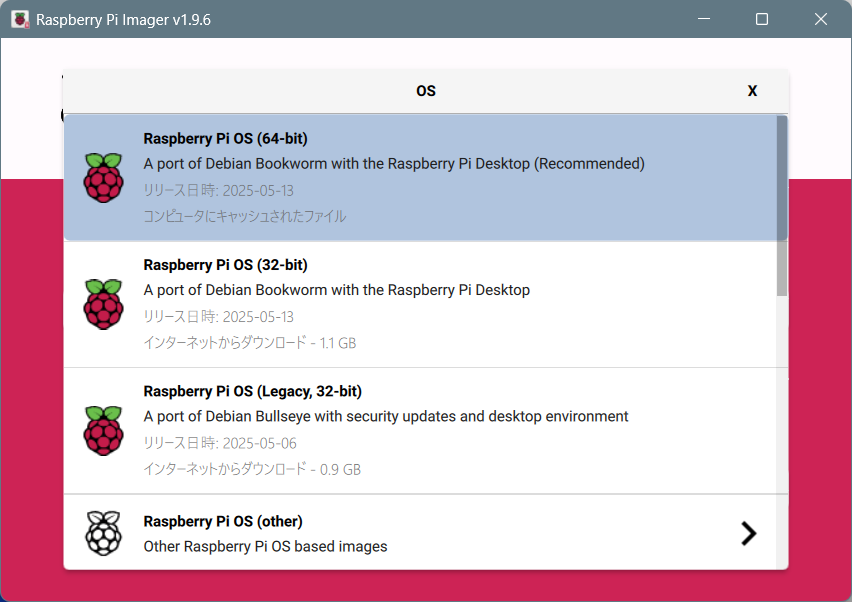
Press the “OS” button and select the recommended Raspberry Pi OS (Desktop).
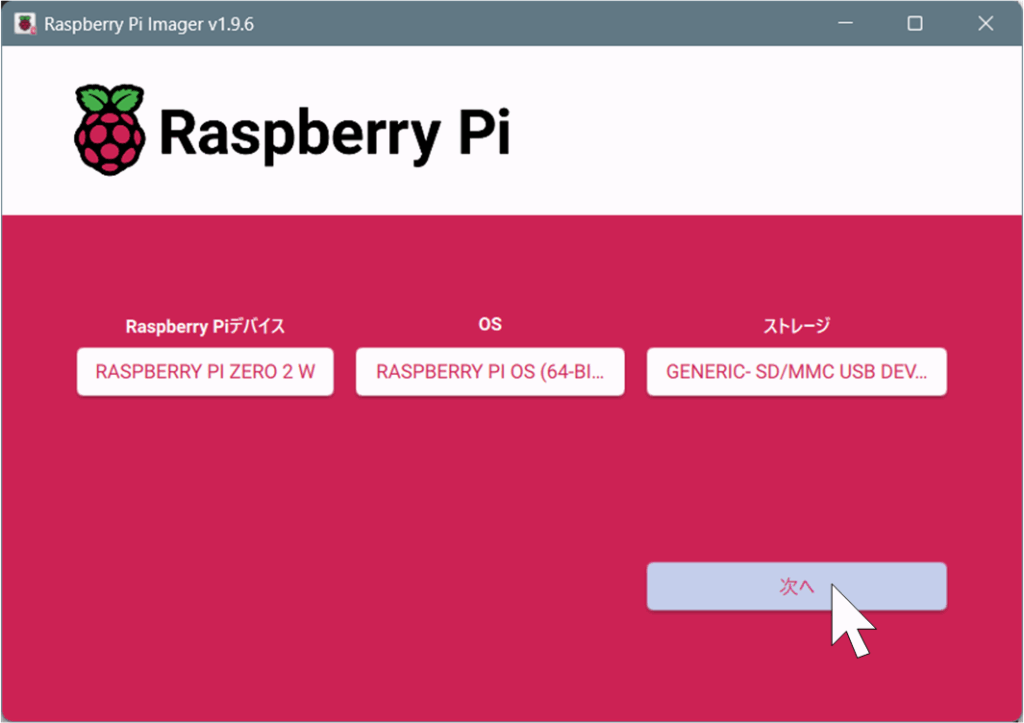
Please insert the microSD card that you will use with the Raspberry Pi into your PC’s SD card reader. Select “Storage” and then choose the appropriate drive.
Once you have selected the device, OS, and storage, the “Next” button will become active.
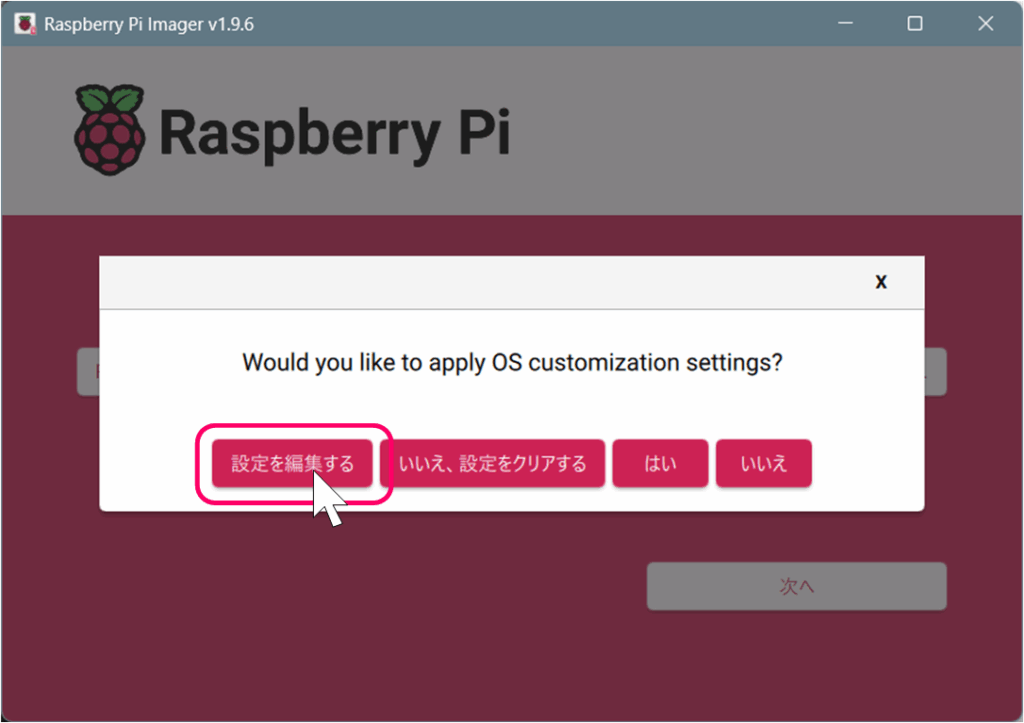
After clicking the “Next” button, a message will appear asking you to customize the operating system.
Here, please click “Edit settings.” The customization dialog box will then open.
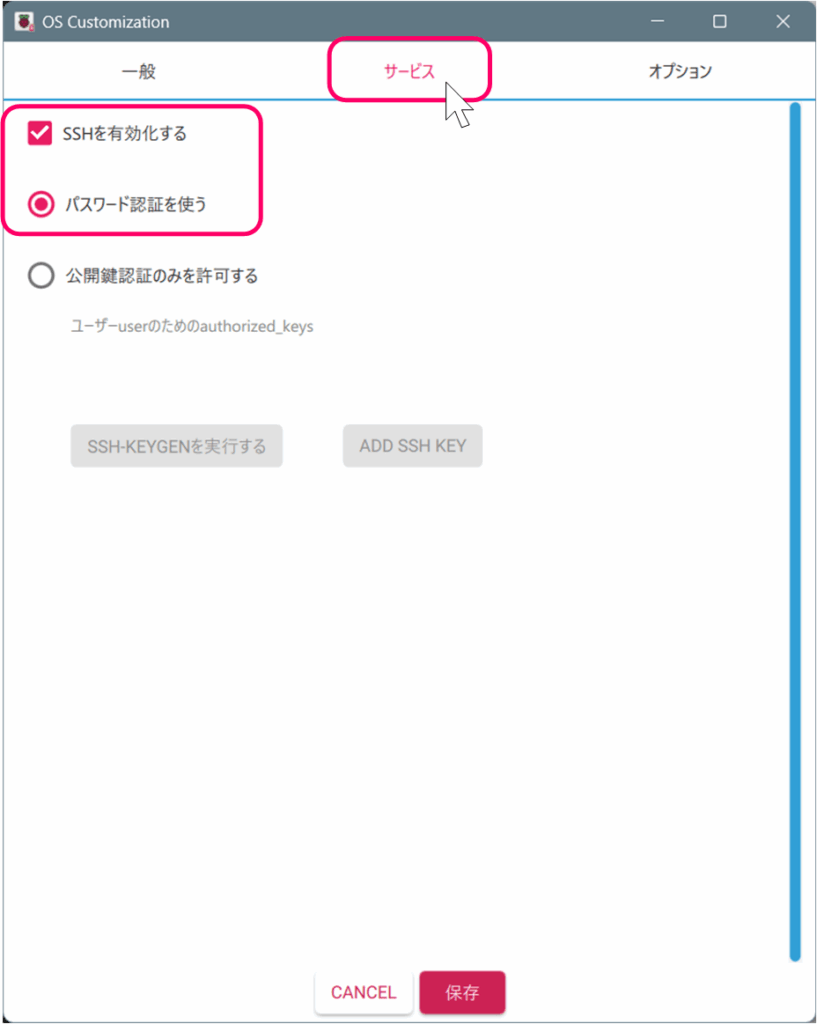
In the OS customization dialog, click the “Services” tab and check the box for “Enable SSH”.
TOMATE uses SSH for uploading data.
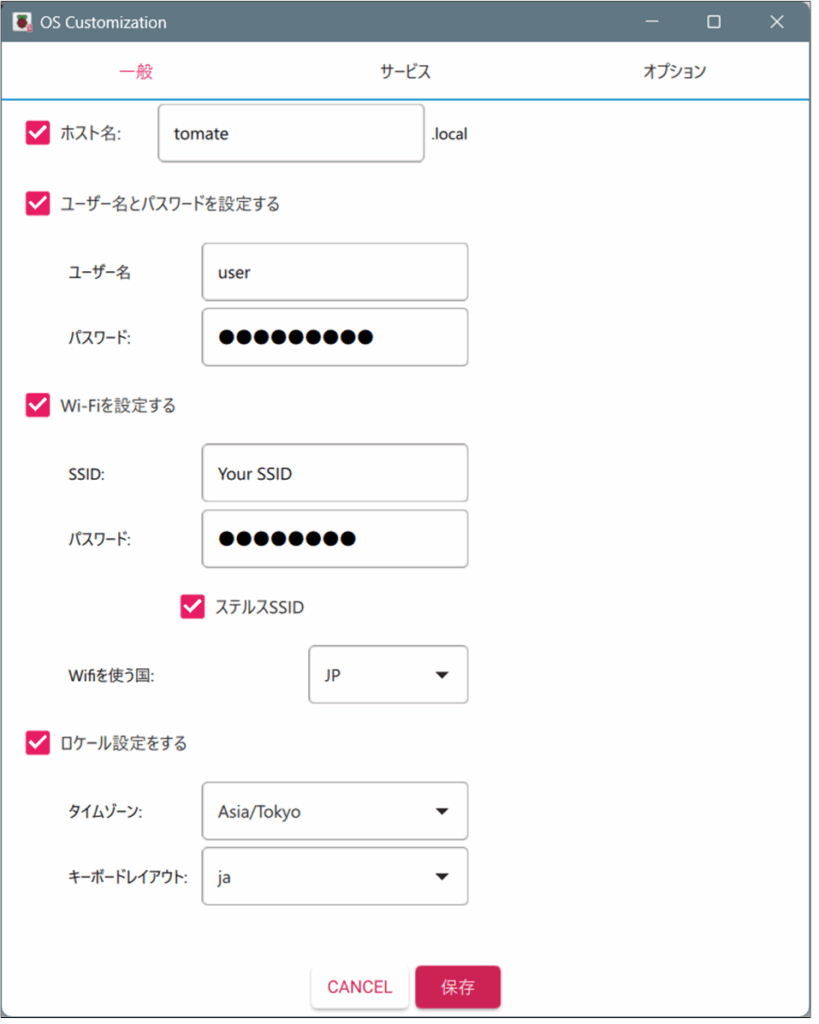
Next, click the “General” tab.
Set your desired “Hostname”, “Username”, and “Password”.
If you will be using Wi-Fi, please set the SSID and password here. Wi-Fi will be available immediately after the Raspberry Pi OS starts (this applies only to Raspberry Pi models with built-in Wi-Fi).
TOMATE uploads data from your PC to the Raspberry Pi via a LAN connection. The Raspberry Pi you connect to must be on the same local network as the PC running TOMATE.
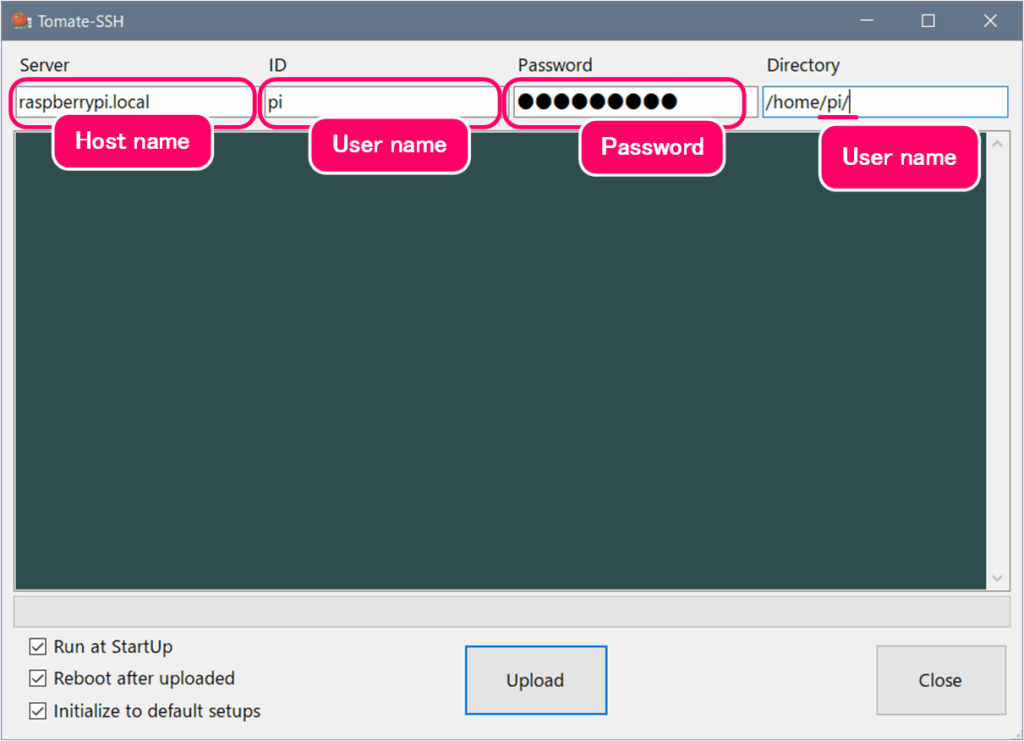
The “Hostname,” “Username,” and “Password” that you enter here will be required when uploading the screen created in TOMATE to your Raspberry Pi.
Please make a note of these details so you don’t forget them.
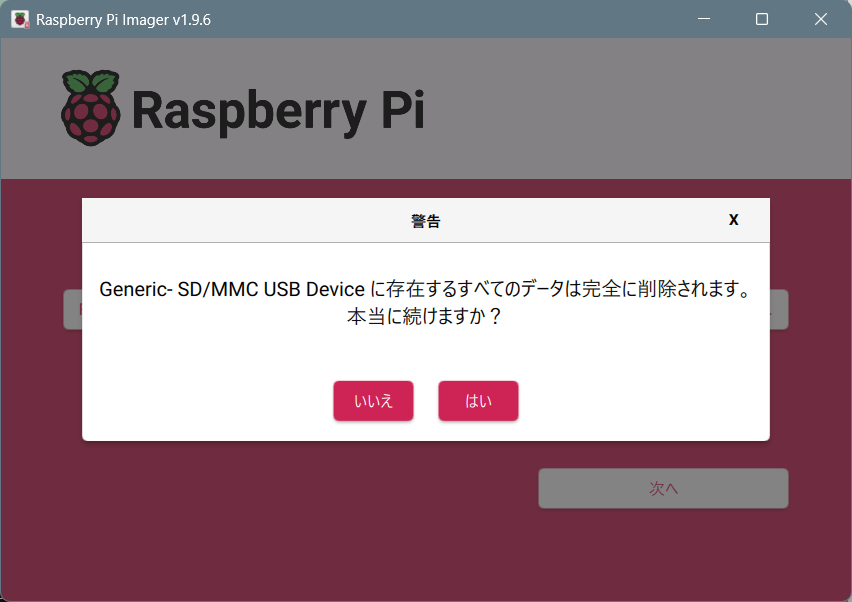
After clicking “Save” in the customization dialog, you will return to the previous message screen. Clicking “Yes” on the message screen will begin the installation of the operating system to the SD card.
Once the installation is complete, remove the microSD card from the drive.
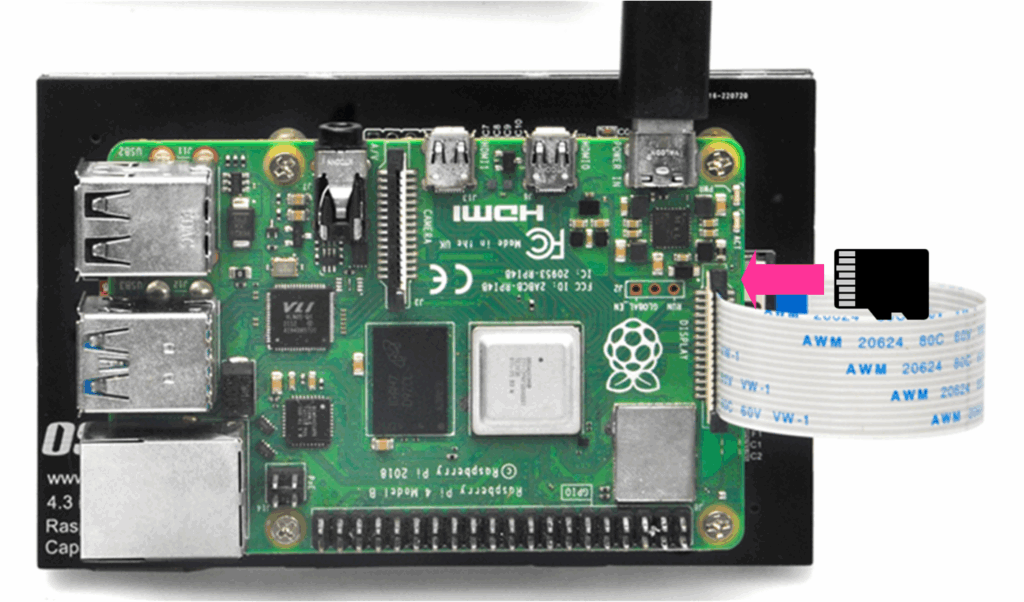
Insert the microSD card with the operating system installed into the Raspberry Pi, and then power it on.
Once the Raspberry Pi operating system appears on the touchscreen, the Raspberry Pi is ready for use.