
Upload
Here, We will explain how to upload to the Raspberry Pi.
*To upload, you need a Raspberry Pi device connected to a touch panel on LAN.
After creating the project and confirming the test operation, click the tool button ![]() or operate ‘Menu: Run: Upload’ (F6) to open the ‘Tomate-SSH’ window.
or operate ‘Menu: Run: Upload’ (F6) to open the ‘Tomate-SSH’ window.
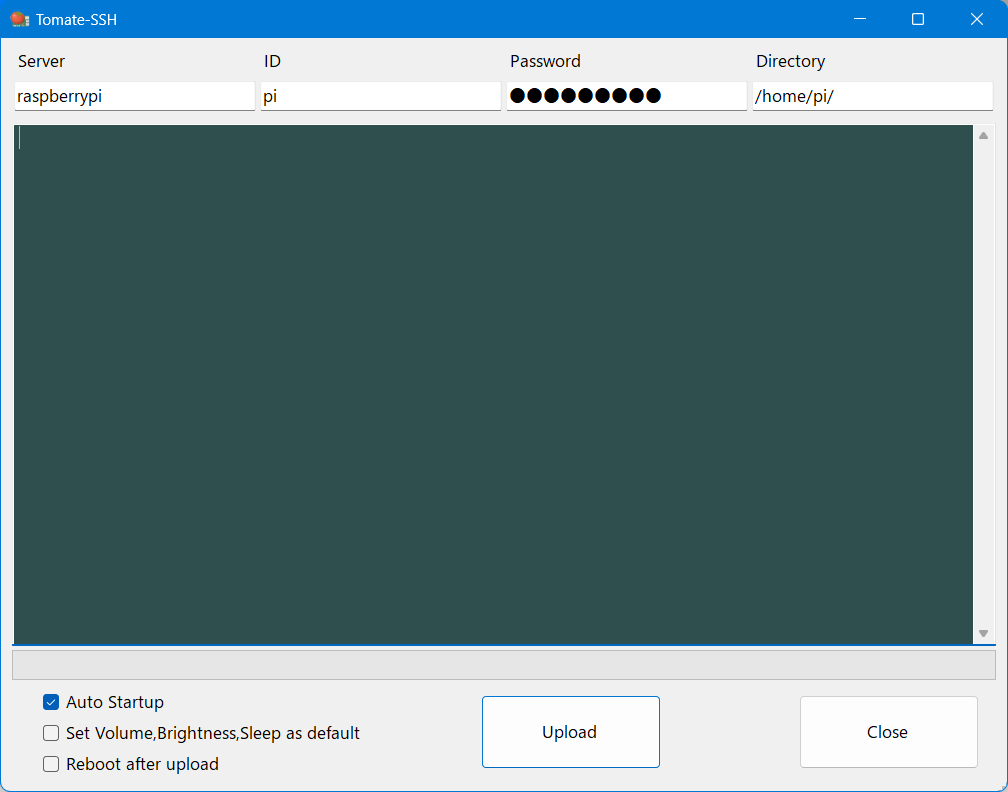
Enter the login information for the Raspberry Pi you want to connect to in each text box.
| Server | Set host name or IPv4 address of Raspberry Pi (Default: raspberrypi.local) |
| ID | Set user name (Default: pi) |
| Password | Set password (Default: raspberry) |
| Directory | /home/username/ (Default: /home/pi/) |
Check the following items:
- ☑ Auto Startup
After the upload is finished, the TOMATE will start automatically. From now on, TOMATE will start automatically every time you restart your Raspberry Pi.
If the upload is successful, the screen created with TOMATE will be displayed and executed on the touch monitor.
![]() In case of upload fails
In case of upload fails
Please check the user name and password you set.
Also, if the host name (raspberrypi.local) is specified for Server, the upload may fail in rare cases. In such cases, specifying an IP address will mitigate this failure.
To find out the IP address of the Raspberry Pi, enter the following command from the Windows command prompt.
ping -4 raspberrypi.local (or hostname you set)If the ping is successful, you will get a message like this:
raspberrypi.local [192.168.x.xx] Sending ping 32 byte data:[192.168.x.xx] is the address of the Raspberry Pi.
Enter this address in the ‘Server’ field.
![]() Cancelling the automatic start
Cancelling the automatic start
If you want to cancel the automatic startup,
uncheck “Auto Startup” before uploading.
The autostart setting is removed from the Raspberry Pi.
![]() When the screen feels dark
When the screen feels dark
If you check “Set Volume, Brightness, Sleep as default” and upload, the “Brightness/Auto Sleep Time/Volume” item listed as (Rspi) will be displayed in “Menu: Tools: Settings” of the TOMATE app. The value is set as the standard value.